
How to start without moving all your school data
Try Intelligence Cloud with demo data, then start with one real group. Set up its course and prices, prepare a short schedule and compare charges with your school records.
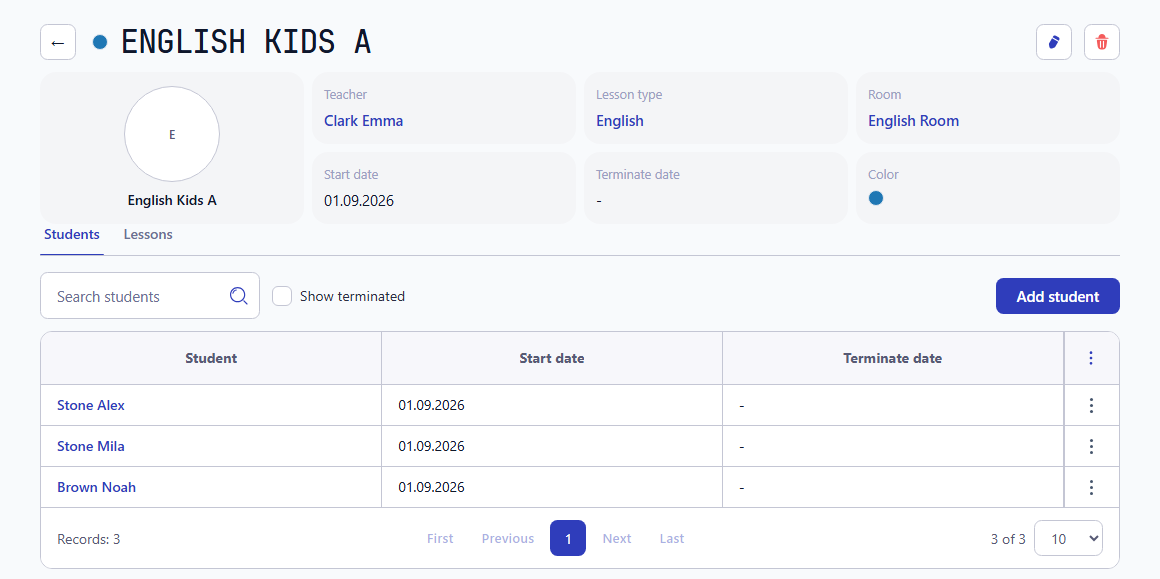
If your school already uses spreadsheets or another system, start with one group and a short schedule period. You can check daily tasks and calculations while keeping your existing records available for comparison.
You do not need the school's full history for this first check. Start by learning how to prepare lessons, publish the schedule, record attendance and explain a student's invoice total.
1. Learn the process with demo data
Follow the demo data walkthrough: open a group, find its lessons, inspect attendance and open the related invoice. Demonstration students, prices and payments help you learn the program; they are not your school's records.
What you do next depends on where you tried the program:
- In the public demo: register and create your own company after exploring the workflow. Enter your school records there, rather than in the demonstration company.
- In your own company after generating demo data: open Dashboard and click Start with clean company. Wait until demo data removal finishes before adding real students, groups, lessons or payments.
Do not turn demonstration records into real school records: directory entries linked to real data may remain when demo data is removed. If you have already mixed the two, check what remains before continuing. Keep your old spreadsheets for comparison.
2. Choose one group and a start date
Choose a group with a clear schedule and price. One course, teacher, classroom and a few students without an existing debt or credit on your start date are enough for the first pass. Agree on the date from which you will track this group in the program and who will check the results.
Open company settings and check the currency and time zone. The currency is used for prices and financial amounts; the time zone determines how lesson times are displayed.
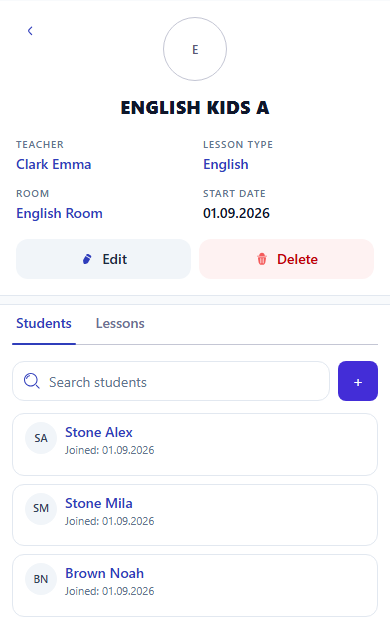
Add the necessary records under People & Classes and Programs & Pricing. Open the group profile, choose its course, teacher and classroom, and check its students. Include only students who actually attend that group.
On a phone, the same profile shows the group details and students:
3. Check the price before publishing lessons
Open Programs & Pricing → Courses & Prices, choose the course and check its prices. The amount and effective dates must match the lessons you plan for the group. The currency comes from company settings; you do not enter it separately for each price.
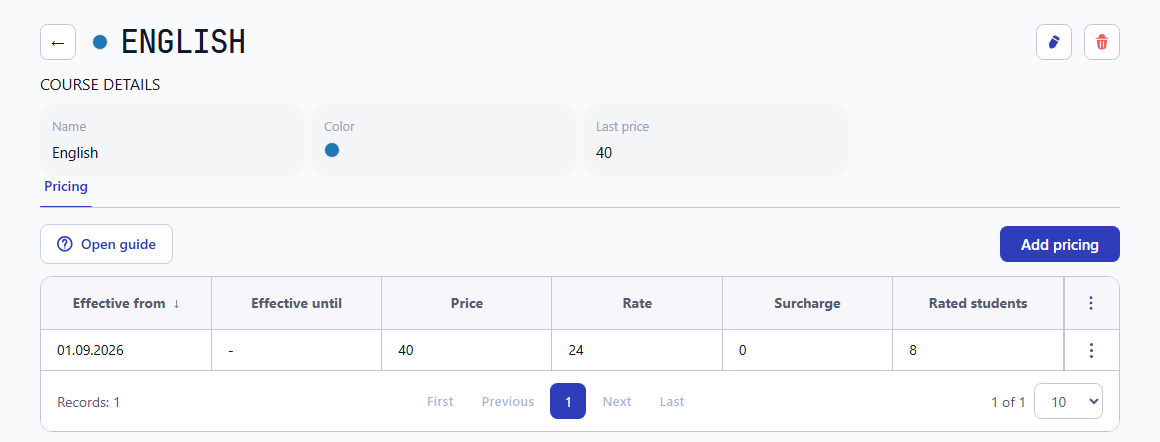
If the price changes, add a new period while keeping the previous price history. The course pricing guide explains the steps.
4. Prepare and publish a short schedule period
Open Schedule and prepare a version covering one week or another short period. Add lessons for the group and check the dates, times, teacher and classroom. Compare the version with your school's usual schedule before applying it.
When the plan is ready, click Approve and apply. Publishing the schedule creates the initial lesson charges. Attendance marks and billing treatment can then change those amounts. Publishing is therefore part of real billing, as well as a way to make lessons visible in the calendar.
Switch to Active and check that the lessons appear on the correct dates. The scheduling guide explains each action and how to check conflicts.
5. Compare the results with school records
After a lesson, record attendance and choose its billing treatment, then open one student's invoice. Compare:
- the lesson dates and count with your schedule;
- each line's price with the agreed price;
- chargeable and free lessons with the selected attendance settings;
- discounts with the student's current terms;
- recorded payments with money actually received;
- the amount due or credit with your current records.
Do not record the same payment again just to test it. This guide does not explain how to enter an initial debt or credit from another system. Keep students with such a balance in your previous process for now; do not replace it with an invented payment or historical lesson.
Use the billing check before going live for a more detailed comparison. The balance carried between invoices in that example comes from existing calculations in Intelligence Cloud; it is not an opening balance entered from another program. Before sending the first invoice, staff should understand which lessons, discounts and payments make up its total.
6. Expand after the first check succeeds
Once the group has completed the workflow, add more groups and a longer schedule period. Before expanding, make sure staff know who prepares the schedule, records attendance and enters received payments.
You can leave older history in your previous system or archived spreadsheets if you only need it for reference. Ask separately about moving specific records: this guide does not assume an automatic import of schedules, balances or payments from another program.
If you have not tried the product yet, use the demo button at the top of the page. If you are preparing real school records, start with company settings and one group before taking on the full history.
Related resources
How to check student charges and payments before going live
Check course prices, attendance, discounts, previous balances and payments against one student's invoice before starting live billing.
How to test your school workflow with demo data
Follow one student from a lesson and attendance to an invoice and recorded payment. Check the amounts before entering your own school data in Intelligence Cloud.
How to configure company settings
Set the school name, country, currency, time zone, date format, invoice due dates, and payment instructions before daily work begins.